Awesome digital bokeh effect in Photoshop
Awesome digital bokeh effect in Photoshop
Step 1
Create a new document in Photoshop. As usual I will use a nice scree resolution, 1920x1200 pixels. Fill the background layer with a very dark grey, not black. If you fill it with black the effect won't work. The color I used was #262626.
Step 2
Select the Ellipse Tool (U), and create a circle. Use black for the color, and go to Layer>Layer Style>Blending Options. Change the Fill Opacity to 50%. After that select Stroke. Use 10 pixels for the size, Inside for the Position and Black for the color.
Step 3
Select the ellipse and go to Edit>Define Brush. Name your brush and that's done. Now we have a new brush ;)
Step 4
Go to Window>Brushes (F5). The first thing to do in the Brush Engine is to select our new Brush. The size won't matter because you will change that when you use it. The Spacing, however, is very important. Chage the value to 100%. After that, select the Shape Dynamics, then Scattering and Other dynamics. For the values use the image below.
Step 5
Before we start painting our bokehs let's create a new layer and fill it with a colorful gradient. I created a new layer and used the layer styles to do that but feel free to do the way you are used to. My gradient settings are as follows: Blend Mode is Overlay, Opacity is 100%, Style is Linear, and the Angle is 45º. The colors I used are: Yellow (#00085), Cyan (#1bdaeb), Purple (#9b3b81), Orange (#d27e34).
Step 6
Let's create a new Folder in our Layer Palette. Rename the folder to Bokehs and change the Blend Mode to Color Dodge. Then create a new layer, choose white for the color and select the Brush Tool (B). Now just paint some ellipses with our custom brush. For this first layer use a big size, like 500-600px.
Step 7
Go to Filter>Blur>Gaussian Blur. For this first layer use 20 pixels for the Radius.
Step 8
Create another layer and paint more brushes. This time however use a smaller size for the brush. After that go to Filter>Blur>Gaussian Blur. Use 4 pixels for the Radius.
Step 9
Create another layer and repeat the previous step, this time however use a much smaller brush. Apply the Gaussian Blur to this layer as well, but use only 1 pixel for the Radius.
Conclusion
Now just add your logo and that's it. We have a nice wallpaper. The idea of this tutorial was once again to show the power of the Brush Engine. You can try different shapes for this same effect, like hexagons for example. Also you can play a bit with the blurs to add more depth to the final design. Now it's up to you.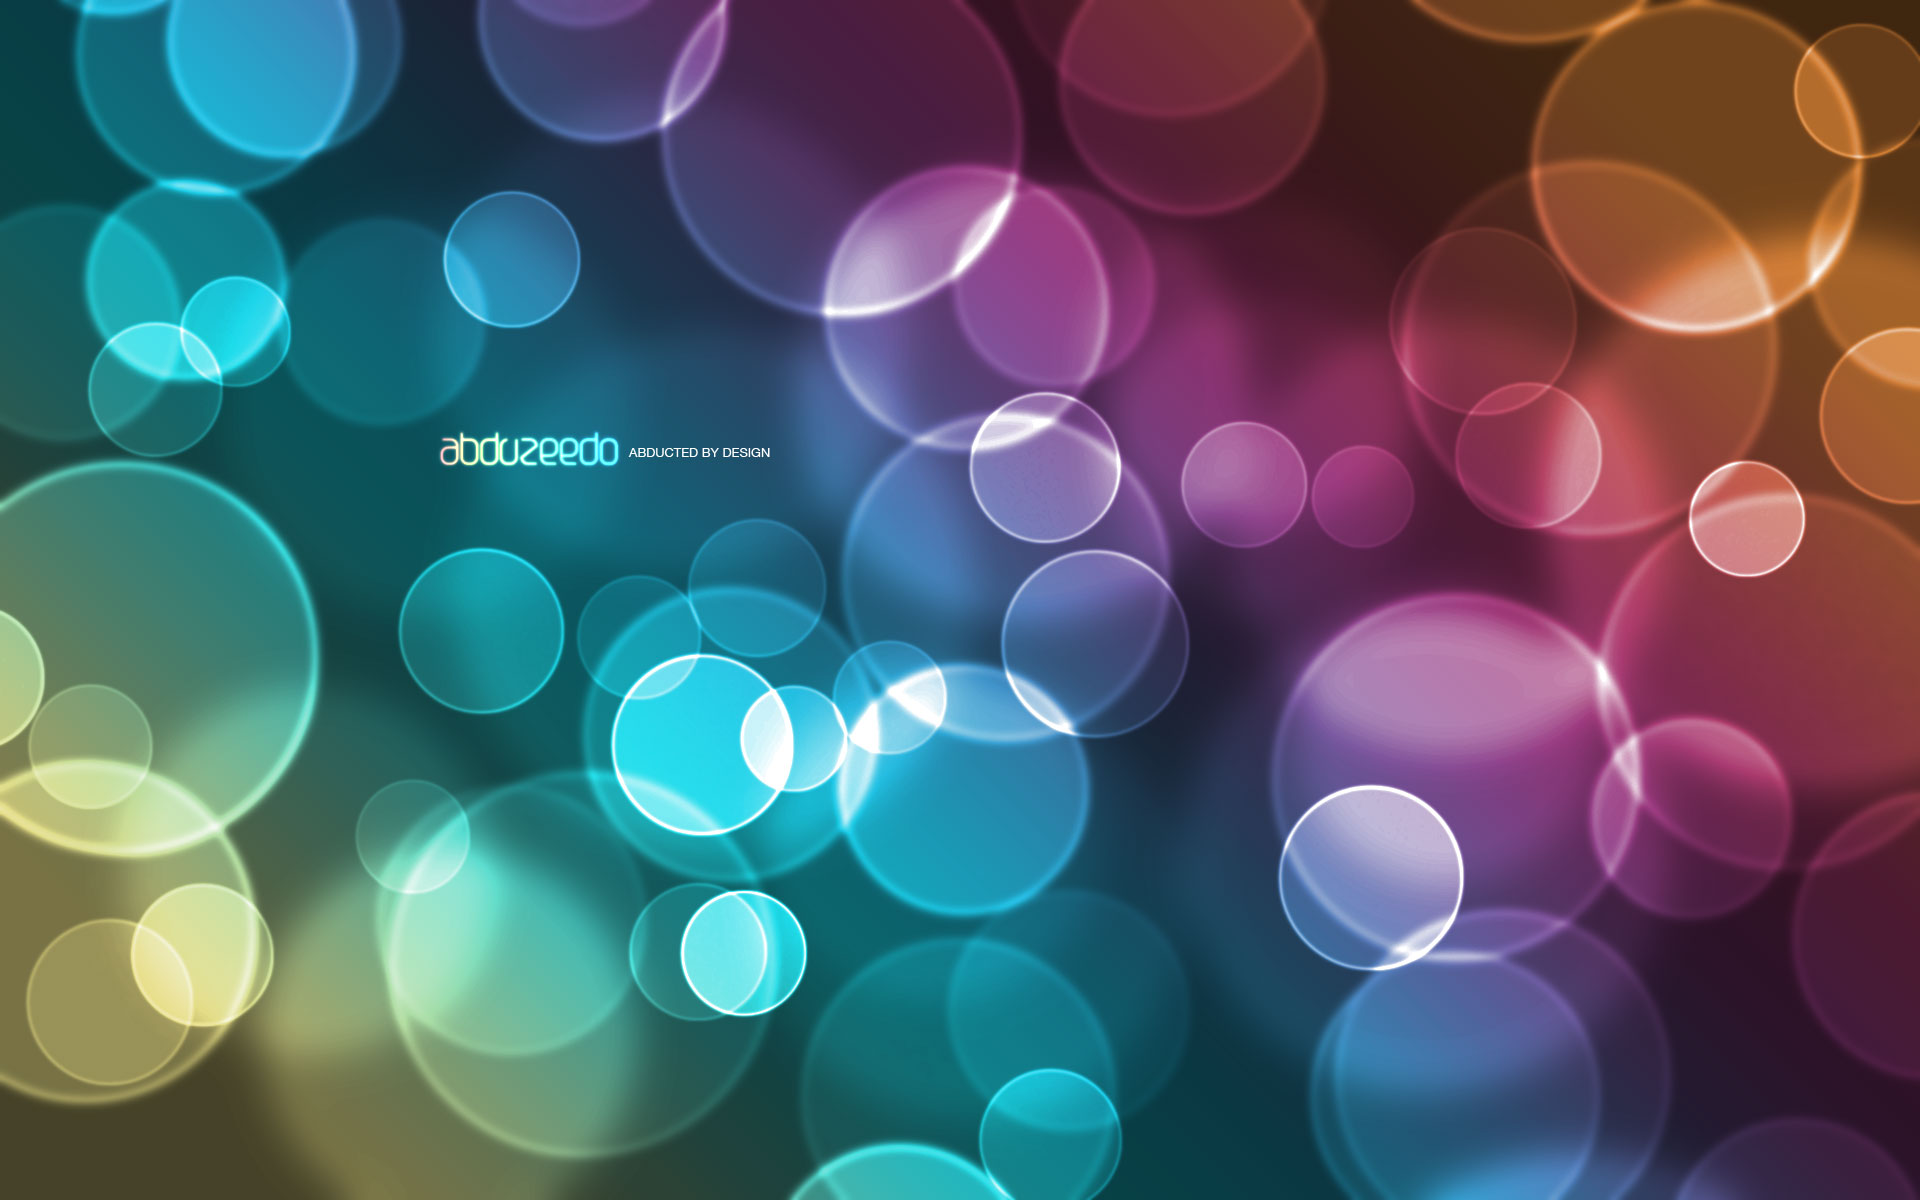
Classic Light Effect in Photoshop
Classic Light Effect in Photoshop
STEP 1
Open Photoshop and create a new document, after that make sure that the background is in black.

STEP 2
To make the effect more realistic let's use a stock photo, the one I am using is courtesy from Shutterstock and you can find it at http://www.shutterstock.com/pic-24939406/stock-photo-glowing-lamp-on-bla.... Place the image in the center of the document but make sure that the filament area is big engouh.

STEP 3
Go to Layer>Layer Mask>Reveal All. Then with the Brush Tool (B) select a very soft brush (0% hardness0 and black for the color. Start paiting the areas of the light you want to hide. Use the image below for reference.

STEP 4
Now let's delete the filament area where we will add the text with the light effect later on. To do that is pretty easy, with the Eyedropper Tool (I) select the color of the area you will paint, the with the Brush Tool (B) and a very soft brush, start paiting over the filament. Note: I added a new layer instead of painting over. Another tip is if you are using the Brush Tool (B) you can just press Alt to use the Eyedropper Tool.

STEP 5
With the Horizontal Type Tool (T) add the word light in white. I am using Exmouth for the font, you can download it here http://www.dafont.com/exmouth.font. For the size I am using 82 pixels but the size will depend on your document size. After that add a new folder in the Layers Palette and change the Blend Mode of this folder to Color Dodge. Move the light text into the folder you have just created.

STEP 6
With the text selected go to Filter>Blur>Gaussian Blur. Use 4 pixels for the Radius.

STEP 7
Because the white text is inside the folder with the Color Dodge, the effect will be the same as if the text layer had a black background. You can see that the edges get sort of blended with the background creating a perfect light effect.

STEP 8
Again to add more realism, instead of creating a lens flare in Photoshop we will use a real photo. The one I am using I found in Google Images and you can find it here http://web.williams.edu/astronomy/IAU_eclipses/jmp_eclipse03_04.jpg.
Once you imported the photo the first thing to do is delete the areas that you won't be necessary and keep just the flare. After that go to Image>Adjustments>Desaturate.

STEP 9
With the flare layer already desaturated, just change its Blend Mode to Screen. Screen is a very useful Blend Mode because it turns what is black into full trasparency the grey scale becomes a transparency level, so it's perfect to create light effects.

STEP 10
Add a new layer and go to Filter>Render>Clouds. Make sure you had black and white for the background and foreground colors. This layer also will be on top of the others.

STEP 11
Change the clouds' layer Blend Mode to Color Dodge. After that add a new folder in the Layers Panel and move the clouds layer into it. After that change this folder's Blend Mode to Overlay.

STEP 12
Add a new layer inside the folder in which you moved the clouds' layer. Make sure that the new layer is beneath the clouds' layer. After that with the Brush Tool (B) and a very soft brush with #f5d38b paint a round spot in the center of the light effect. Change this layer's Blend Mode to Overlay too.

STEP 13
Now add another layer on top of all the others and then with the Brush Tool (B) and a big and very soft brush using white for the color, paint another big spot in the center of the light effect. After that go to Layer>Layers Styles>Color Overlay. Use #ffd648 and Linear Burn. The idea is to make the light a bit stronger.
After this we are done and as you could see, most of the light effects are all about blending colors with photos. The Blend Modes in Photoshop are very powerful for this type of effect and I would recommend you to study more about them, especially the Color Dodge one.

DESIGN A HORROR STYLE TEXT EFFECT WITH DIRT AND SPLATTER TEXTURE IN PHOTOSHOP

Step 1
Create a new document sized 1200 * 800 px (in fact size doesn’t really matter here, choose one you feel comfortable with), use White as background colour.
In order to maxmise the effect, the choice of font is quite important here. For me I tend to use a Bold, Clean Font from at the start, simply because they are easy to manipulate and stylise. So go head and use the font we have just downloaded and type some text onto the canvas: (Hint: you can use Ctrl + T free transform tool to adjust the size of the text)

Step 2
On this text layer, apply the following layer blending options:
General Blending

Drop Shadow

Inner Shadow

Bevel and Emboss

Contour

Gradient Overlay

Stroke

and you will have the following effect:

Step 3
Load the selection of the text layer by holding down the Ctrl key and left click the thumbnail image of the text layer on the layer palette:

Hit Ctrl + Alt + R and bring up the Refine Edge Tool, apply the following settings:

and your selection will become like this:

Step 4
Maintaining the selection, create a new layer on top of the text layer and name it “Dirt Spray”, load the Dirt Spray brushset into Photoshop, and use the different brushes in this set, paint on the new layer.
You will see because we have the selection enable, the dirt appears within the selection:

and here is the effect I have after a bit painting with the dirt brush:

Step 5
Now we can add some background textures to make the effect a bit richer. Load the “Stroke and Splatter” brushset into Photoshop, create a new layer called “texture” just above the background layer, select the brushes from this set to paint over the new layer: (I chose the red colour)

Also you can use the splatter brushset for additional effect.
Now we can add some more decorations onto the text. I decided to add some curvy lines . To do this, create a new layer called “lines” and grab the Pen Tool, create the following working path on this “lines” layer:

And right0-click and choose the “Stroke Path” option, as shown below:

Then select the option “Brush” and tick the “Simulate Pressure” option (Make sure set the brush size to 16px, with 100% hardness). Use the Free Transform Tool (Ctrl + T) and free transform it as shown below:

Duplicate this “lines” layer a few times, on each duplicated layer, free tranform it to different sizes. Here is what I have after the duplication and free transformation:

Optional: You can further enhance this effect by duplicating some more layers of the “lines” layer, and drag them on top of the text layer. Here is what I have after moving them above the text layer:

Step 6
To create some uneven light effect, we can add a new layer on top of all previous layer, grab a soft round brush (I chose 150px) and select the White colour, do some single-clicks on the spot you would like to highlight:

Change the layer blending mode to “Overlay” and you will have the following effect:

I further added some more background textures by using the splatter brushsets and here is what I have after the paintings:

Step 7
For some final adjustments, I decided to flatten the image (make sure before you do so, save a copy of the non-flattened one first), and duplicate the background layer once and desaturate the duplicated layer, go to filter > sharpen > smart sharpen and apply the following settings:

And add a new layer on top of the duplicated layer, grab a big soft brush and paint some colour onto it:

Change the layer blending mode to “Color” and you will have the following effect

Add the following two adjustment layers on top of all previous layers by going into “Layer > Adjustment Layer >…”:
Curves

Colour Balance

and you will have the following final effect: (click to enlarge)