CREATE ABSTRACT LAYERED TEXT WITH DECORATIVE LIGHTING EFFECT IN PHOTOSHOP
Step 1
Create a new document with black background (canvas size doesn’t matter for this tutorial), use the font we downloaded, type some pick texts on it:
Duplicate this layer once and choose a different text colour, move this layer slightly to the right:

Duplicate this second layer once more, again we choose a different colour and move it slightly to the right, you will have the following effect:
Step 2
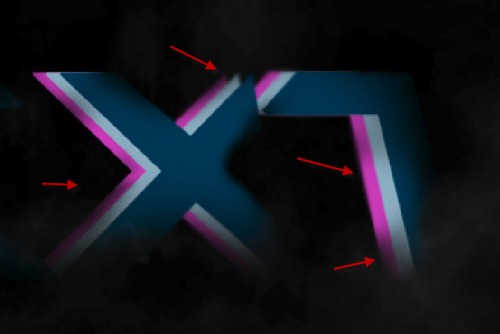
Rasterize those text layer and merge them together, use a soft eraser to erase the edges of the text as shown below to add some depth:

Use the blur tool to blur out some part of the text as well:

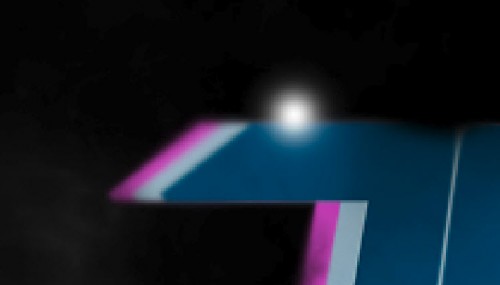
Optional Step: you can add a base line for the text by using a white brush to paint a big dot on the top edge of the canvas:

Then compress it down with the free transform tool:

Reduce the layer opacity to around 50% for this layer, effect as shown below:
Step 3
Now let’s add some highlighting effect – create a new layer and use a soft white brush to paint a dot like this:
Hit Ctrl + T and use the free transform tool to compress it down:

Change this layer blending mode to “overlay”:
Duplicate this light layer twice for a more shining effect:

Repeat the above steps, add some further highlights around the text to the positions that you desire:
Step 4
We can now add some pink lighting over the text – so let’s duplicate this original pick text layer and move it above all previous layers, go to Filter > Blur > Motion blur, and click on “OK” when you see the following window:
Apply the following motion blur settings:
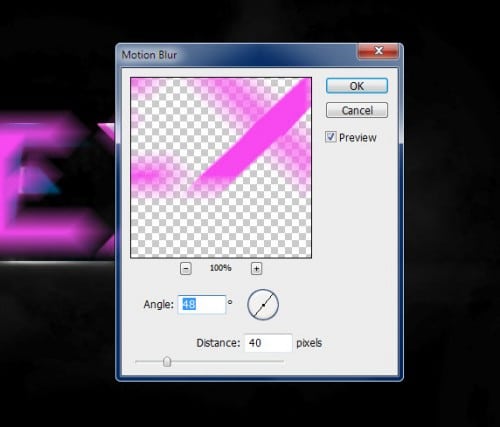
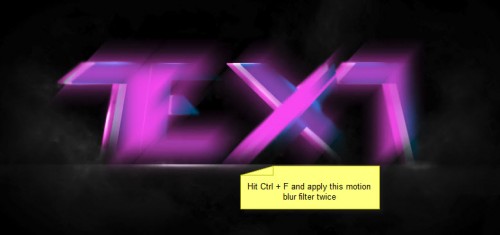
Hit Ctrl + F and apply this filter twice for more blurring effect:
Then use a soft erase to remove some parts of the blur to add more depth:

Duplicate this motion blur layer 3 times, and you will have the following effect:

Step 5
OK we’re almost done! For some final retouches, I added some further lighting effect to the “X” letter with method describe above (except we keep the blending mode to “normal” this time):

Add some abstract particles with a custom brush (you can find plenty over the internet) around this additional lighting area:
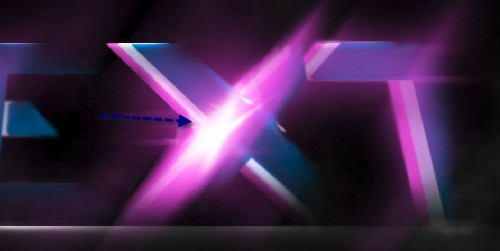
Then I flatten the image, duplicate the background layer and apply this unsharp mask filter to bring some more details for the text:
Paint or render some more cloud effect around the text for some more dramatic effect:
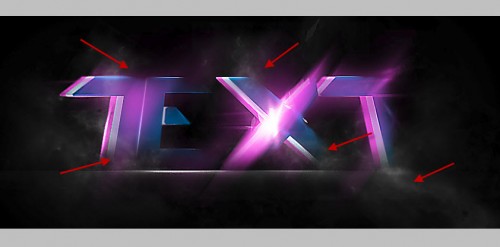
I then further added some colour effect onto the image with selective colours and image adjustment layer, and here is the final effect I have: (click to enlarge)
That’s it for this tutorial! Hope you enjoy it and find it useful! Till next time, have a great day!


